Advance Payment Entry
Advance Payment Entry refers to when the Supplier or Customer pays beforehand, before making the invoice.
Generally, anAdvance Payment Entry is made in the case of high-value deals. Consider a Customer- Jane D’souza placing an order for a luxury furniture item costing ₹24,000. She is asked to give some Advance Payment Entry before the furniture house begins work on her order. She gives them ₹10,000 in cash.
In ERPNext, you can do this advance through a Advance Payment Entry. If there is a Sales Order, simply create a Payment Entry from there. If there is no Sales Order, you can always make a free-standing Payment Entry. The same principle is used for Suppliers via a Purchase Order.
1. What You Need First (Prerequisites)
Make sure these are prepared before you make an advance entry:
- Customer or Supplier (referred to as “Party”)
- Payment Account (such as Bank or Cash)
2. How to Make an Advance Payment Entry
- First, prepare and save a Purchase Order (for a supplier) or Sales Order (for a customer). This is required prior to making any advance payment.
- For instance, you issued a Purchase Order of Rs. 50,000 and now wish to make Rs. 20,000 as advance.
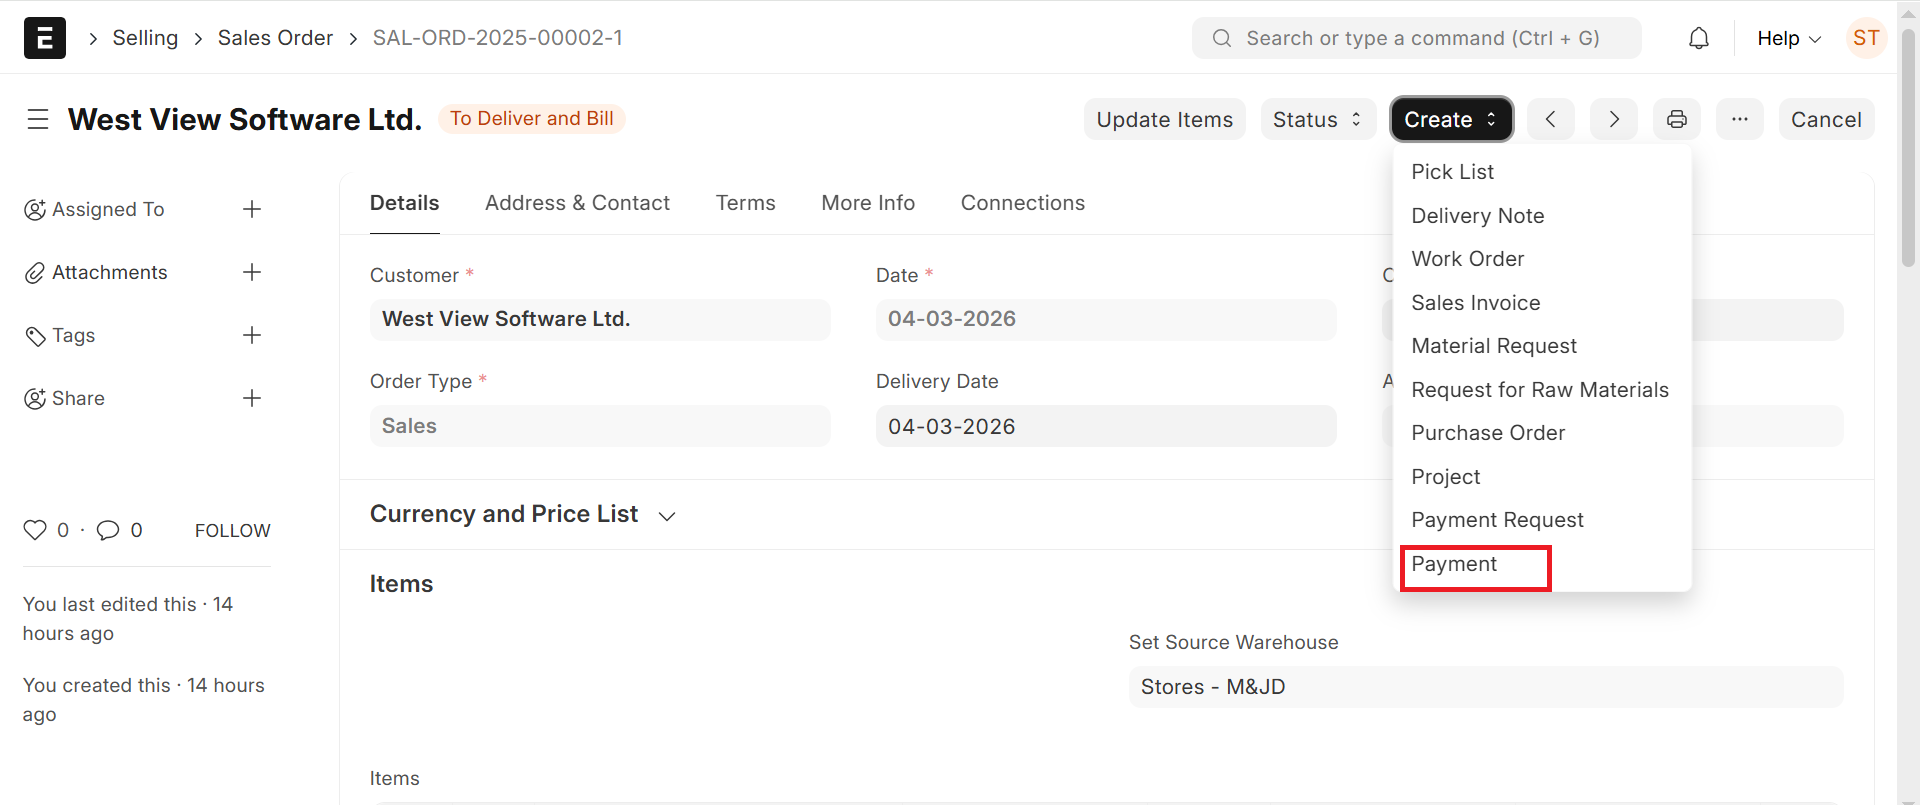
- After saving the order, click Create and then select Payment Entry.
- This will bring up a form where the system will fill details from your order automatically such as the supplier/customer name, total amount, etc.
- Next, check the payment information. Ensure the amount, bank or cash account, and party name are all entered correctly.
- For example, if you’re paying Rs. 20,000 advance by bank, ensure the correct bank account is chosen under “Paid From” or “Paid To.”.
- Then click on Save, and then submit to confirm the payment.
- Example: Now your advance of Rs. 20,000 is noted and will be adjusted later when the invoice is issued.
Note: If payment is not related to an invoice, ERPNext recognizes it as advance.
2.1 Advance in Invoice
When creating a Sales Invoice, you can verify whether the Customer has paid something in advance.
- When you’re issuing a Sales Invoice, you may want to verify if the customer has made a payment in advance already. This allows you to align the advance so the final invoice reflects the right balance.
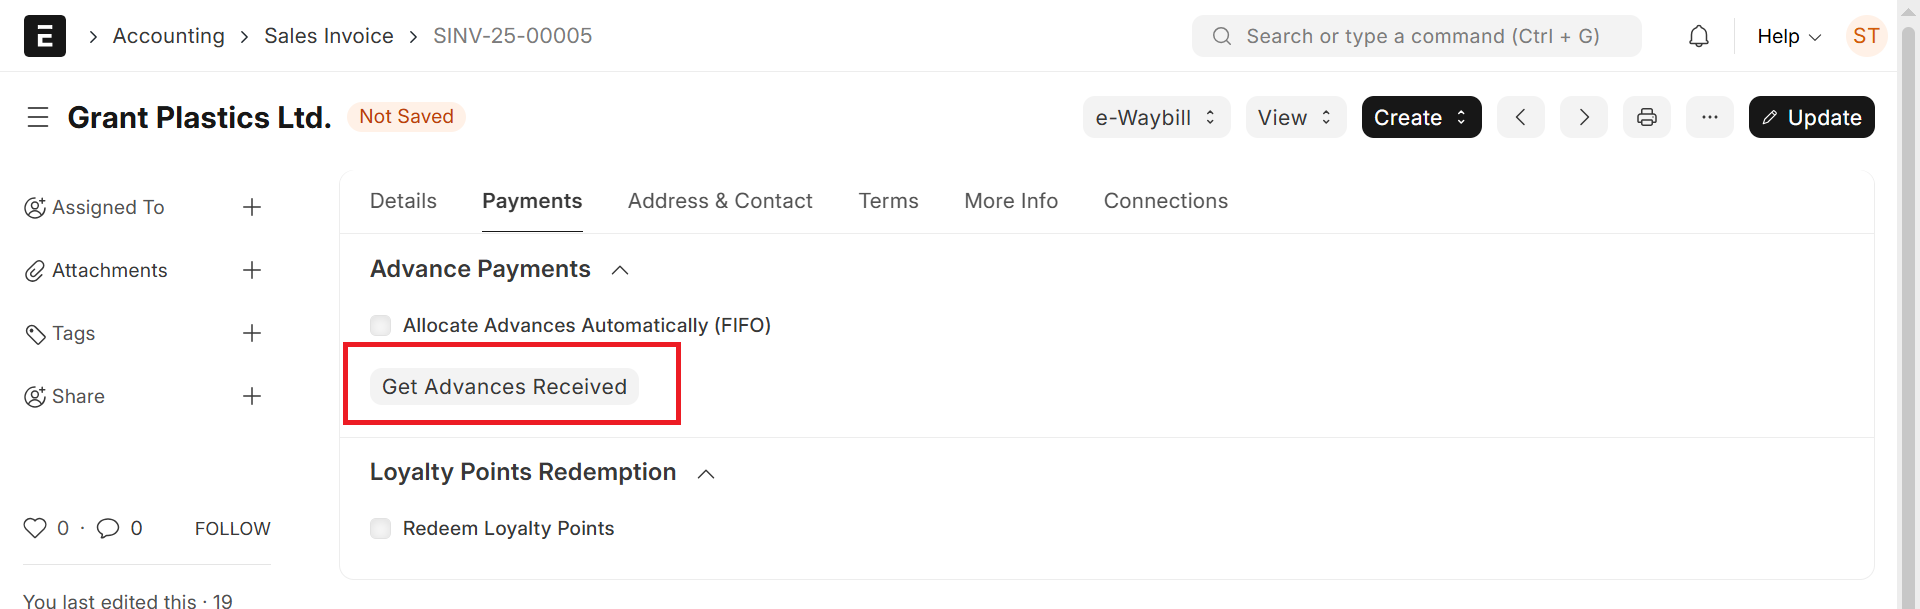
- To do this, tap the Get Advance Received button (you will find it on the invoice form). This instructs the system to look for any advance payments from the same customer.
- ERPNext will now display all the advance payment entries for that customer.
- You will view the amount, date, and reference of the prior received payments.
- Choose the advance entry you want to apply from the list and input the amount you wish to apply.
- Example: In case the customer has already paid Rs. 10,000 in advance, you can apply the entire amount or even less if necessary.
- Once it is applied, the due amount on the invoice will decrease.
- Example: If the invoice amount is Rs. 50,000 and Rs. 10,000 is applied as advance, then the due amount remaining will now display as Rs. 40,000.
- Then, just click Save and then Submit the invoice to complete it.
- This invoice now reflects the advance correctly Adjusted, and your books will remain accurate.